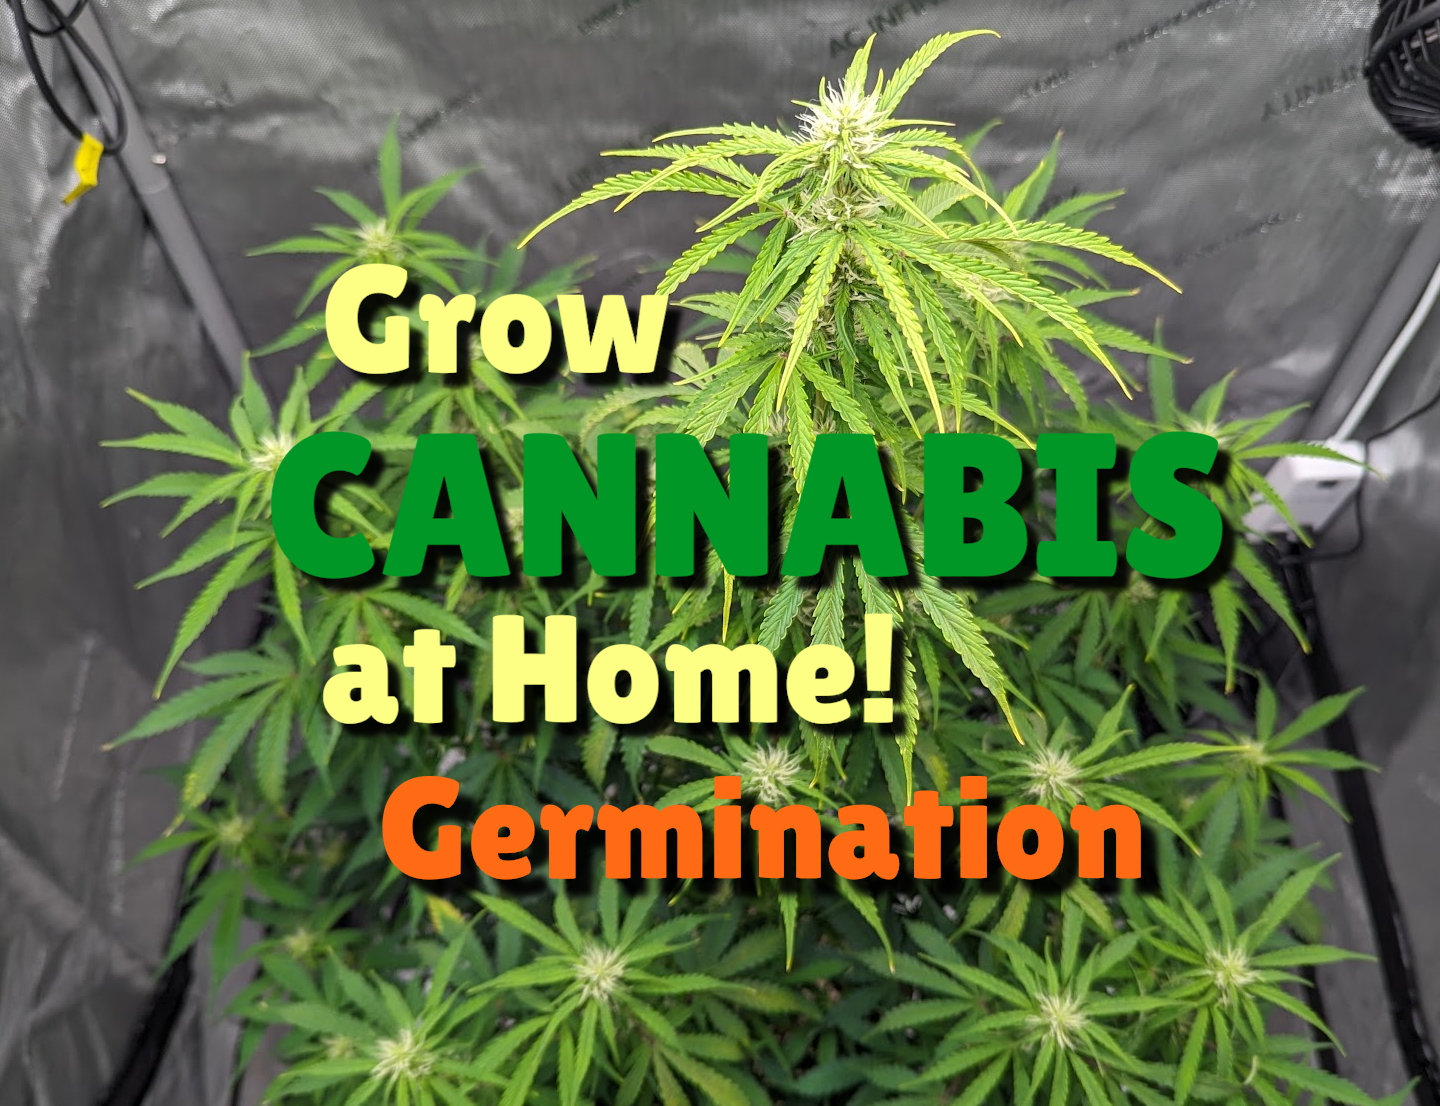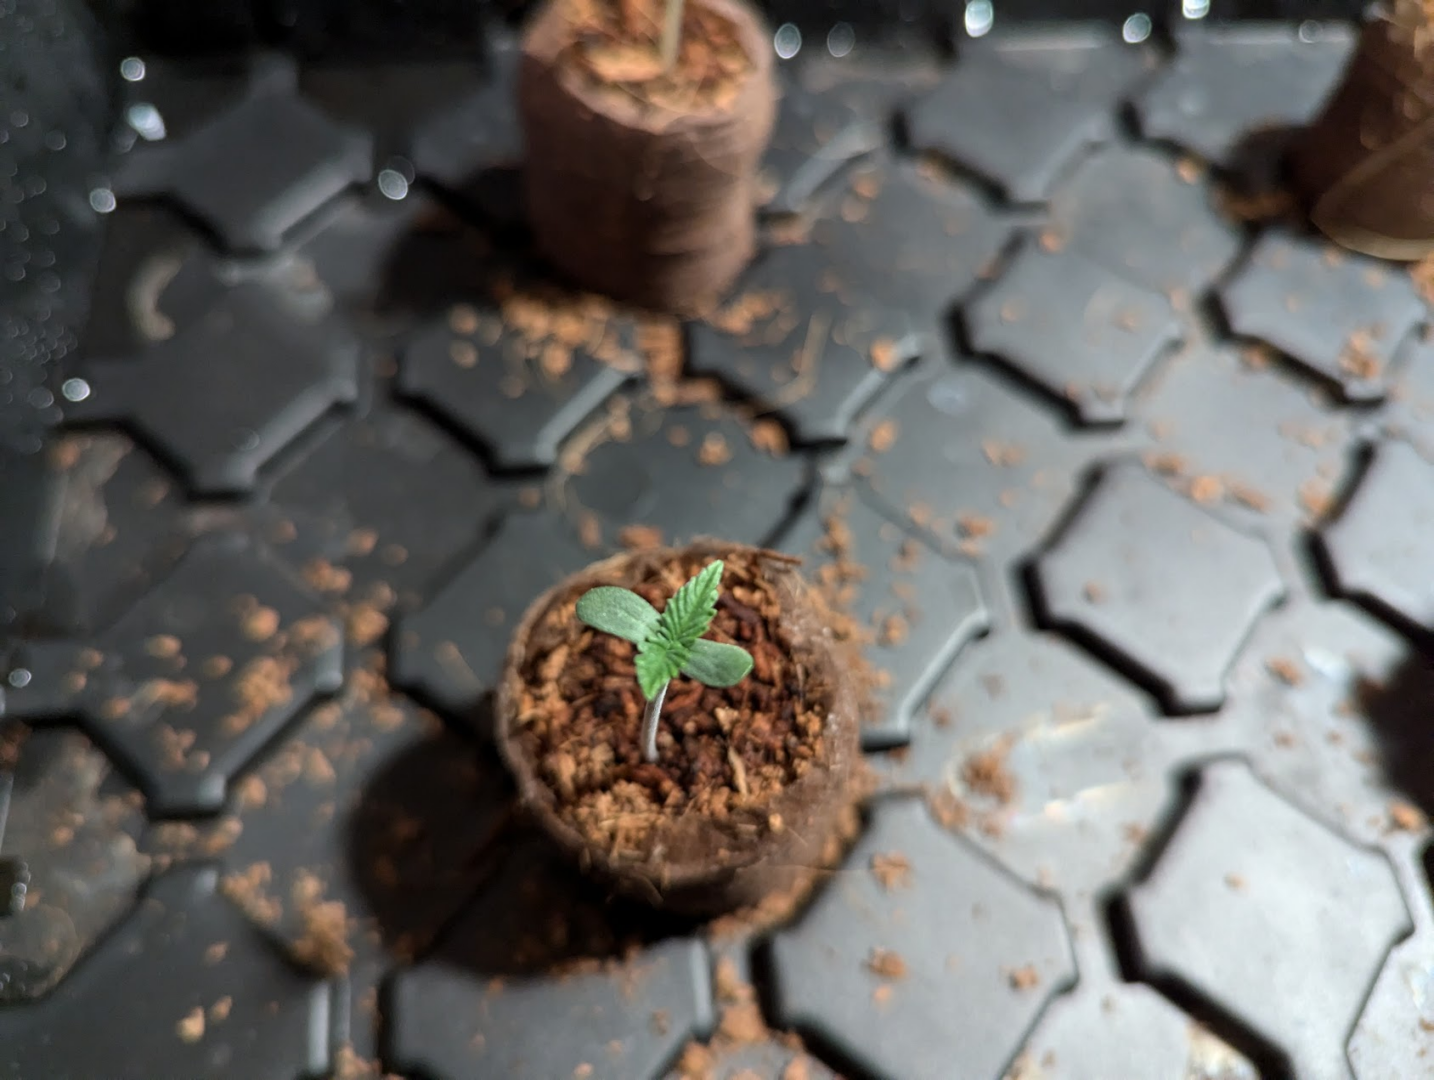
In this second entry, we’ll cover the crucial step of germinating your cannabis seeds. Germination is the process where your seed sprouts and becomes a seedling, ready for planting.
Methods of Germination
There are several methods you can use to germinate your seeds:
- Paper Towel Method: Place seeds between damp paper towels, keep them warm and moist until they sprout.
- Direct Soil Planting: Plant seeds directly into the soil and keep it moist.
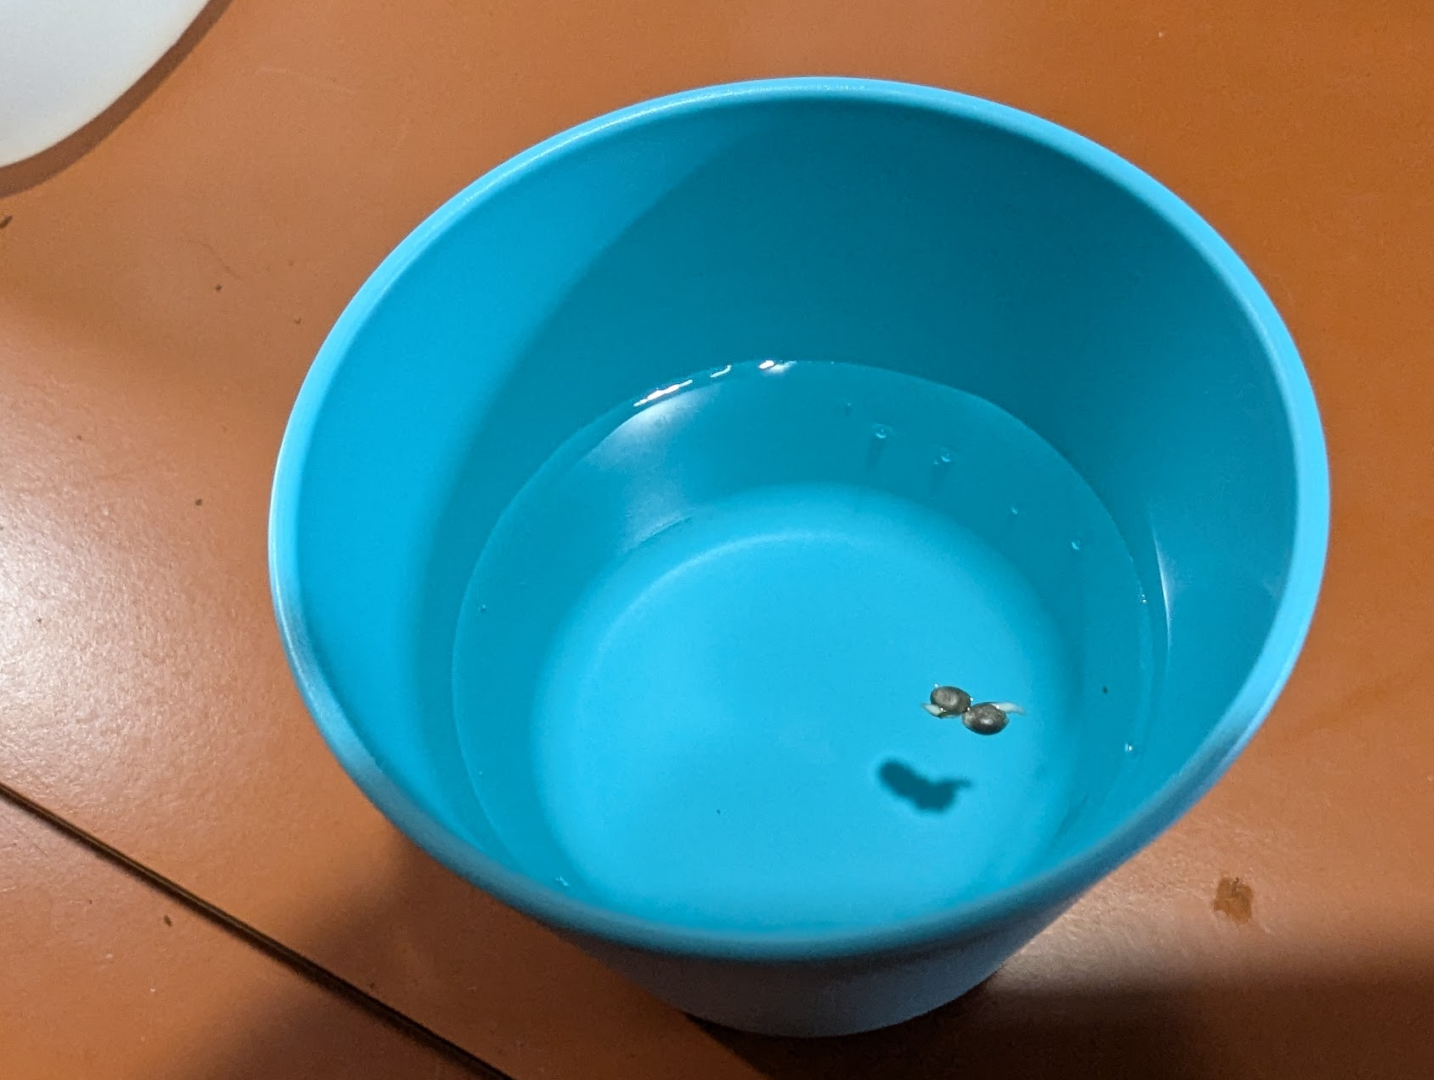
- Water Glass Method: Place seeds in a cup of water until they sprout.
My Germination Process
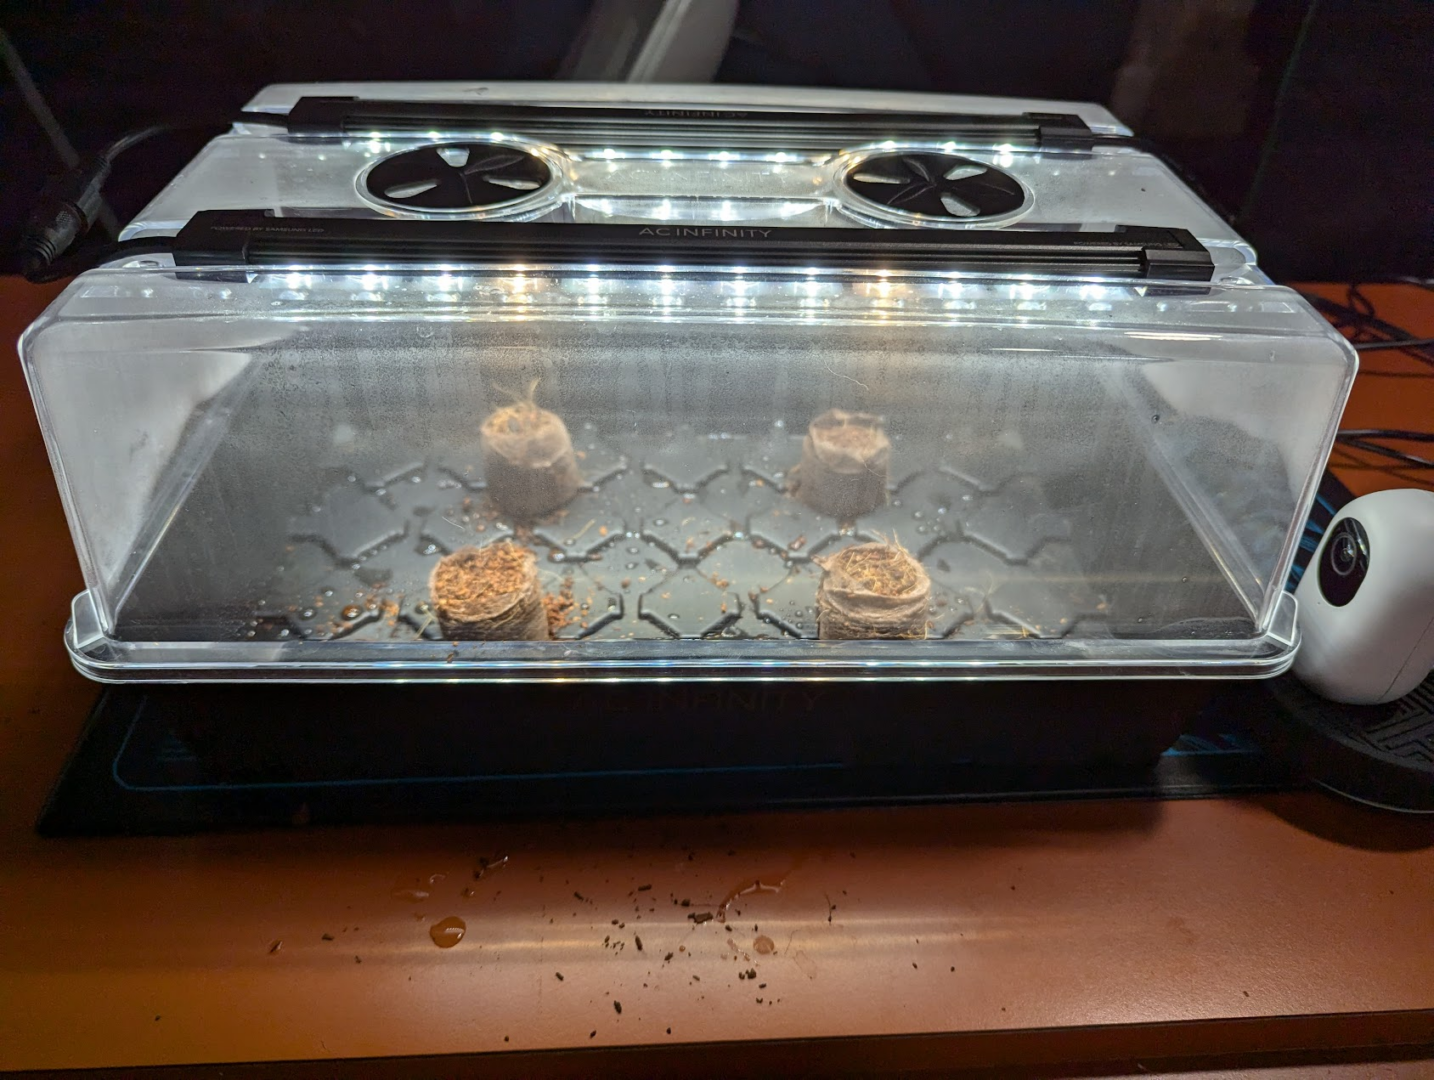
For this tutorial, I’ll be using a method that involves a cup of water and a coco starter puck. Here’s my step-by-step process:
- Soak the Seeds: Place your seeds in a cup of water and let them soak for 24-48 hours. This helps soften the seed shell and kickstarts the germination process. You should see them split open and a taproot sprouted from the seeds.
- Plant in Coco Starter Puck: Once the seeds have soaked, gently place them in a coco starter puck. These pucks provide a great environment for young seedlings. Plant them taproot down and not too shallow.
- Humidity Dome/Light/Heat Mat Setup: Place the pucks under a humidity dome with a light and heat mat. The humidity dome helps maintain moisture levels, the light provides the necessary energy for growth, and the heat mat keeps the temperature optimal. If you don’t have this you can use a USB grow light, a desk lamp, or a window with good sunlight.
Gently and Lightly Watering
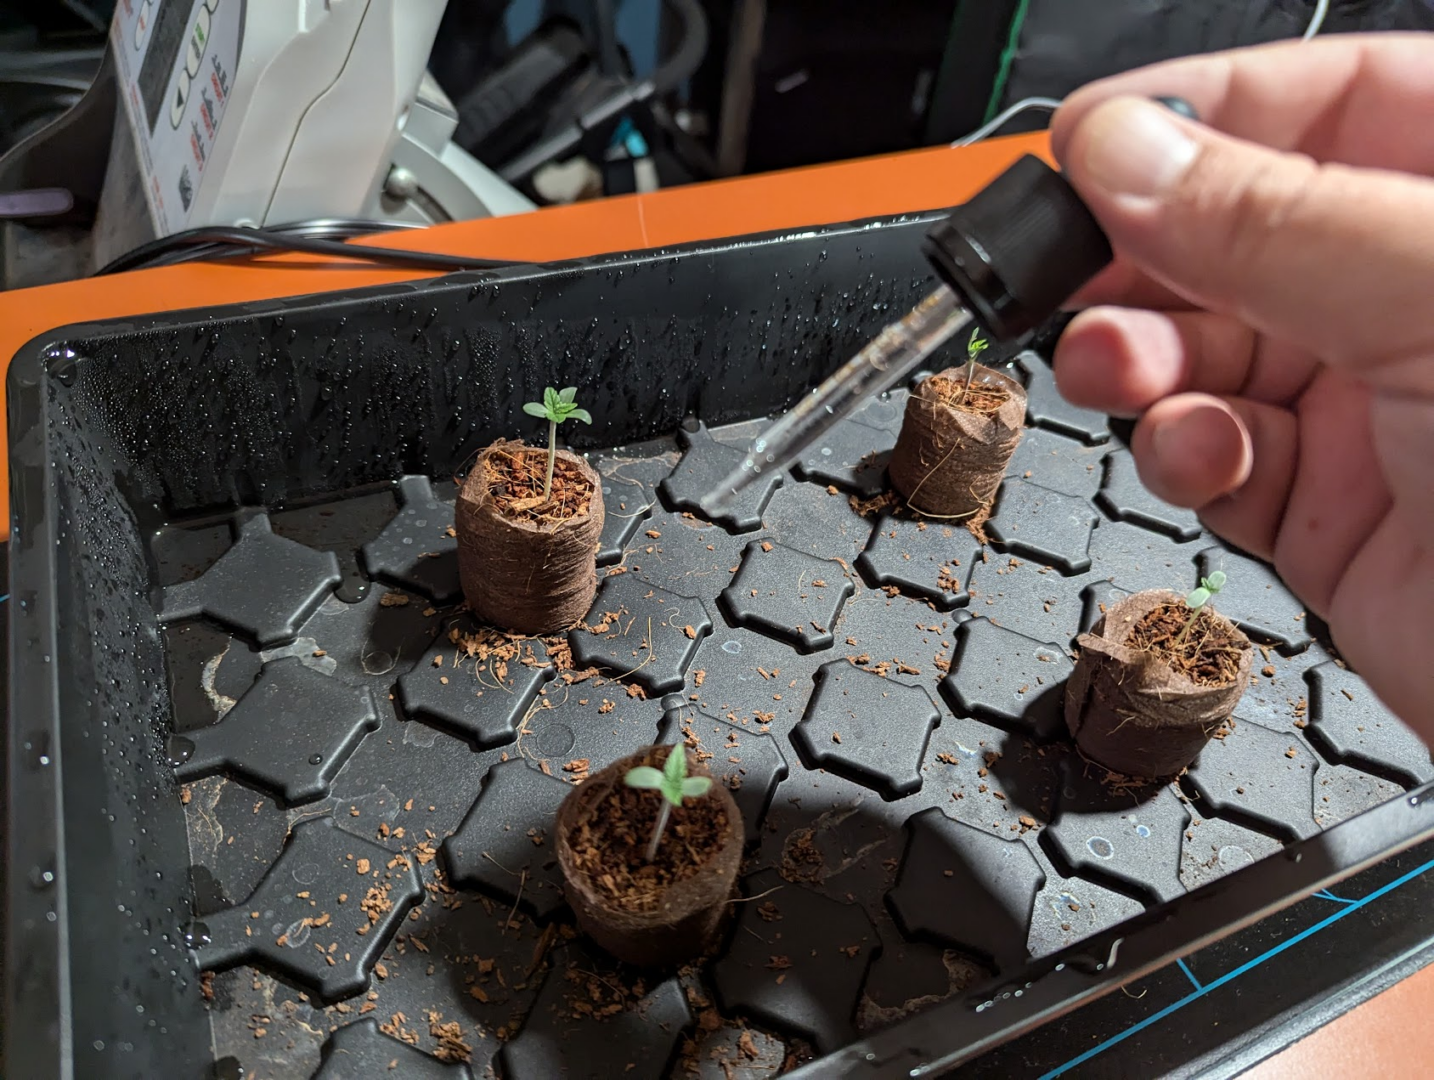
Overwatering is one of the most common mistakes in the germination process. It’s crucial to water your coco pucks gently and lightly to avoid drowning the seeds. I prefer using an eyedropper to regulate how much water each puck is getting. This allows me to keep watering to an absolute minimum, providing just enough moisture to keep the pucks damp but not soaked. Remember, the goal is to maintain a consistent level of moisture without creating a waterlogged environment.
Letting the Seed Casing Fall Off Naturally
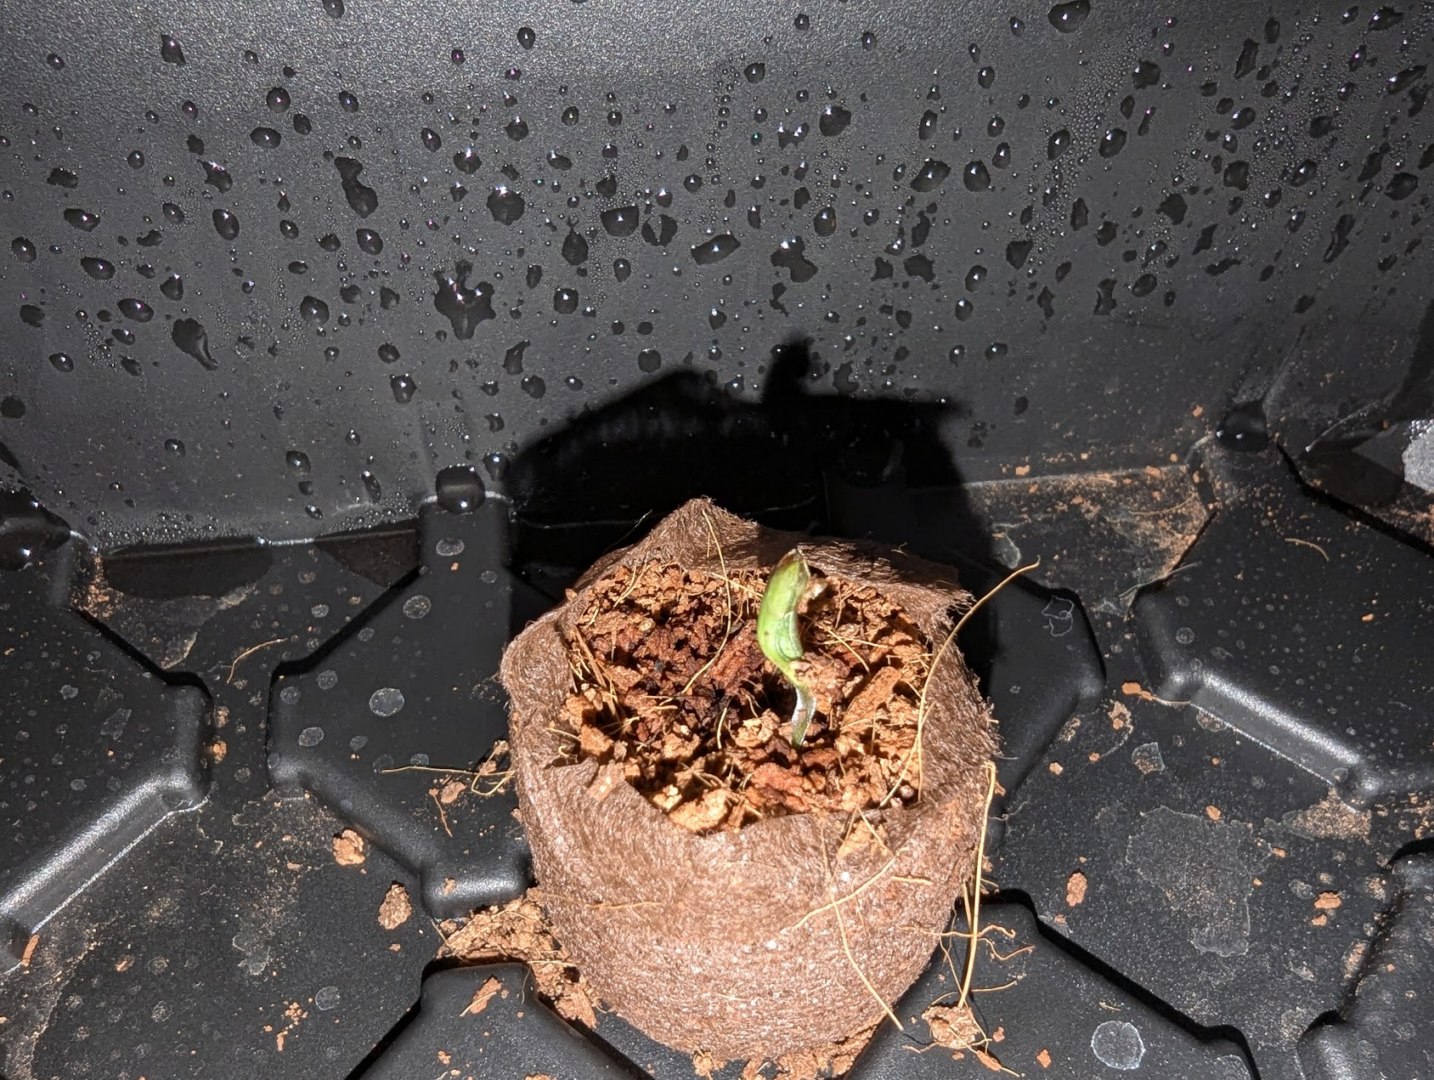
As your seeds sprout, you’ll notice the seed casing might stick to the emerging seedling. It’s important to let the seed casing fall off naturally unless intervention is absolutely necessary. If you must remove the seed casing, do it very gently:
- Use Tweezers: Carefully use tweezers to grip the seed casing.
- Be Gentle: Do not pull on the seedling any more than necessary. Apply minimal force to avoid damaging the delicate plant.
- Precision: Use as much precision as possible to ensure you only remove the seed casing and not harm the seedling.
Keeping these tips in mind will help you avoid common pitfalls and ensure a successful start to your cannabis growing journey.
Keep the pucks under this setup until the seedlings are ready for planting.
Stay tuned for the next entry where we’ll discuss the planting process in detail.
